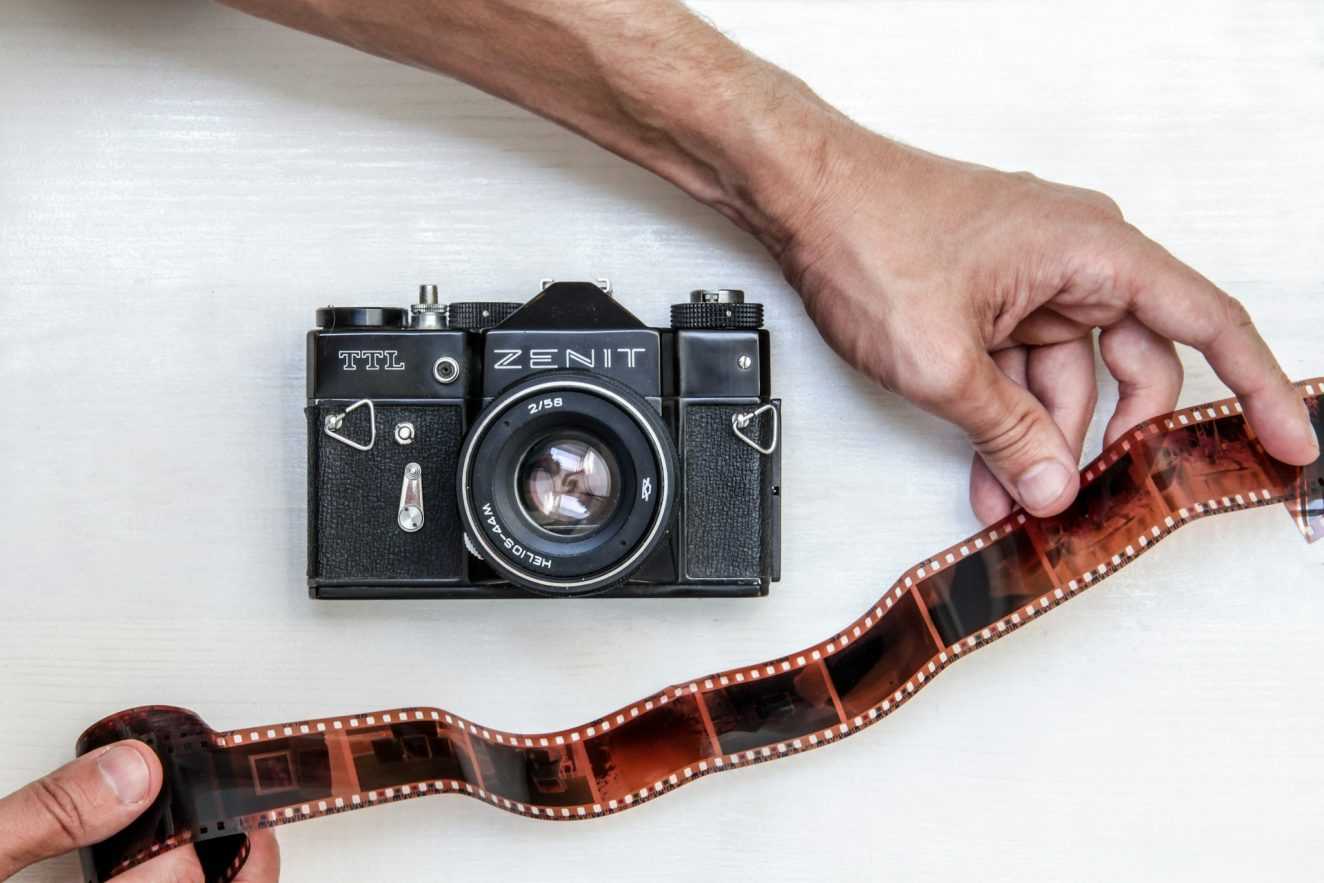
In a world dominated by digital everything, film photography feels like a relic from a bygone era. But don’t be fooled by its old-school vibe—film photography is making a serious comeback, and for good reason! Whether you’re a curious newbie or a seasoned shutterbug, there’s something undeniably magical about capturing moments on film. But how exactly does this mystical process work? Grab your camera (or your curiosity) as we dive into the intriguing world of film photography!
Why Film Photography is Still a Big Deal
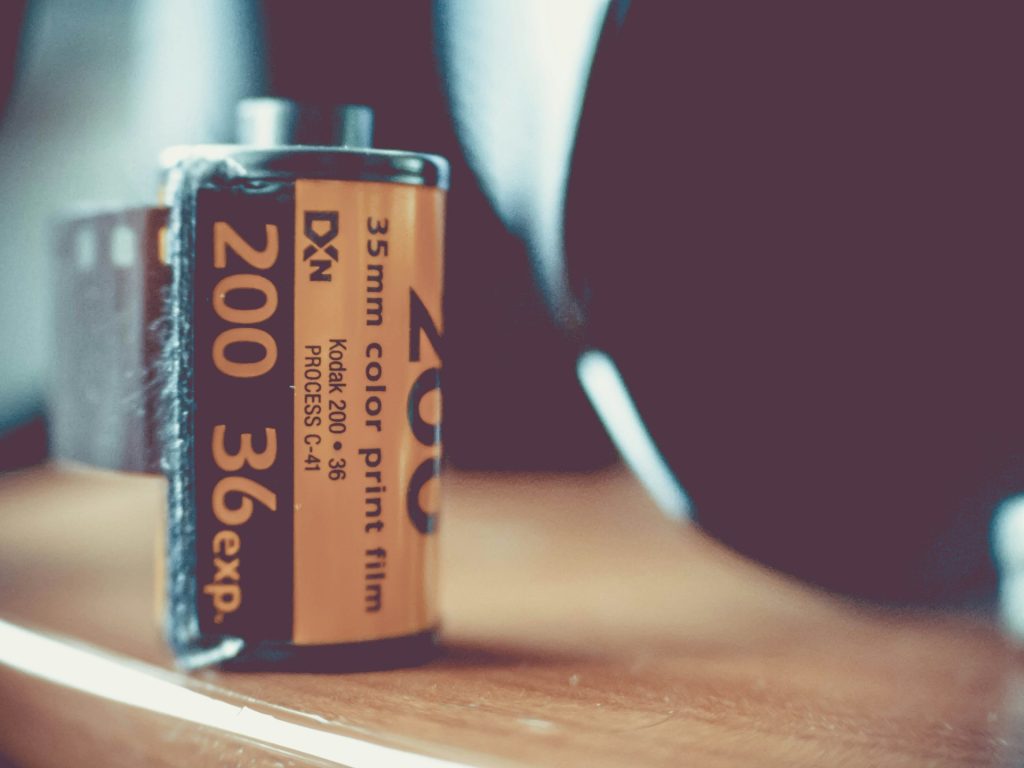
Before Instagram filters and Photoshop, there was analog film—a roll of magic that could freeze time in a single frame. Unlike digital photography, where you can snap a hundred pics in seconds and delete the duds, film photography is all about patience, precision, and a touch of mystery. You don’t get to see your shot until the film is developed, which means every click is a leap of faith. But that’s what makes it so thrilling!
Film photography also gives you more control over your craft. Want to play with exposure? Check. Keen to experiment with shutter speed? Absolutely. And when it comes to printing and enlarging your images, the darkroom becomes your creative playground. Sure, there’s a learning curve, and yes, there’s a bit of trial and error involved (okay, maybe a lot), but that’s part of the fun! So, let’s get into the nitty-gritty of how this process actually works.
Lights, Camera, Action! How Film Photography Captures the Magic
At the heart of film photography is a simple yet elegant process: light meets chemistry to create art. Here’s how it all goes down:
- The Film: A roll of light-sensitive film is loaded into your camera. This film is coated with tiny silver halide crystals, which react to light. The more light hits the crystals, the more they change, creating a latent image—a kind of invisible blueprint of your photograph.
- The Shutter: When you press the shutter button, the camera’s shutter opens, allowing light to hit the film. This exposure captures the image, which is then stored on the film. But here’s the catch: you can’t see your masterpiece yet. The film needs to be developed to reveal the magic.
- The Development Process: Once you’ve used up your roll of film, it’s time to bring those hidden images to life. You can either send your film to a lab or develop it yourself in a darkroom (more on that later). During development, the exposed film is treated with chemicals that turn the latent image into a visible one. The result? A strip of negatives, where the light and dark areas are inverted.
- Printing the Image: To create a final print, the negative is placed in an enlarger, which projects the image onto light-sensitive paper. The paper is then exposed to light, creating a positive image—aka your photo! This print is developed, fixed, and washed before being hung up to dry, ready to be admired.
The Cameras and Films That Make It All Happen
Not all film cameras are created equal. Just like in the digital world, there are different types of film cameras, each with its own quirks and capabilities. Let’s take a look at the big players:
- SLR Cameras: Single Lens Reflex (SLR) cameras are the most common type used in film photography. They use a mirror and prism system, allowing you to see exactly what the lens sees. SLRs come in various formats, such as 35mm (the classic choice), medium format, and large format. The larger the format, the better the resolution—but also the pricier the equipment.
- Rangefinder Cameras: These cameras don’t use mirrors, making them lighter and quieter than SLRs. They’re great for street photography and candid shots, though they require a bit more skill to use.
- Toy Cameras: Want to add some whimsy to your photography? Toy cameras like the Holga or Diana are cheap, plastic, and produce wonderfully unpredictable results. Think dreamy, lo-fi images with light leaks and vignettes.
And let’s not forget the film itself! The type of film you use can drastically change the look of your photos. Here are some options to consider:
- Black-and-White Film: Classic, timeless, and easier to develop at home. If you’re into high contrast and moody vibes, black-and-white film is your go-to.
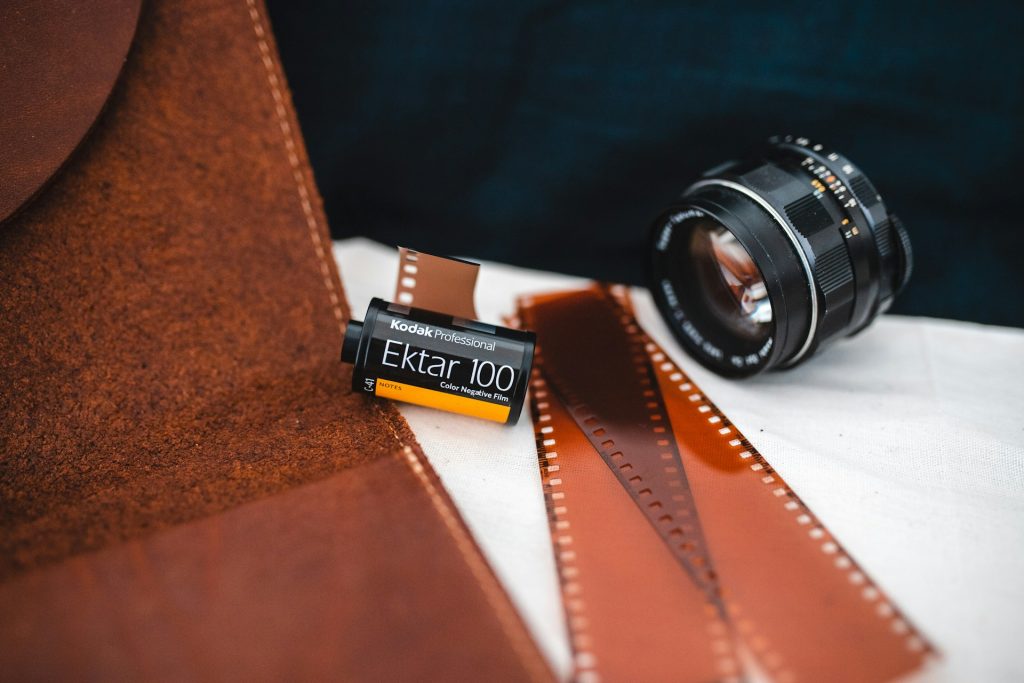
- Color Negative Film: This film produces negatives that are easy to print in a darkroom. Different brands, like Kodak or Fujifilm, offer various color profiles, from vibrant and saturated to muted and moody.
- Slide Film (Color Positive Film): Known for its rich colors and fine grain, slide film creates positive images directly on the film strip. It’s a bit trickier to expose correctly, but the results can be stunning.
The Thrills and Spills of Shooting with Film
Shooting with film is a bit like going on an adventure—you never know exactly what you’re going to get. But that’s part of the allure! Here are some tips to help you navigate the wild world of analog photography:
- Master the Exposure Triangle: Understanding how shutter speed, aperture, and ISO work together is crucial. Since film is less forgiving than digital, nailing the exposure is key to getting that perfect shot.
- Plan Ahead: With only a limited number of exposures per roll, every shot counts. It’s a good idea to carry a few extra rolls of film and maybe even keep a journal of your settings for each shot. That way, when your film is developed, you can learn from your successes (and your mistakes).
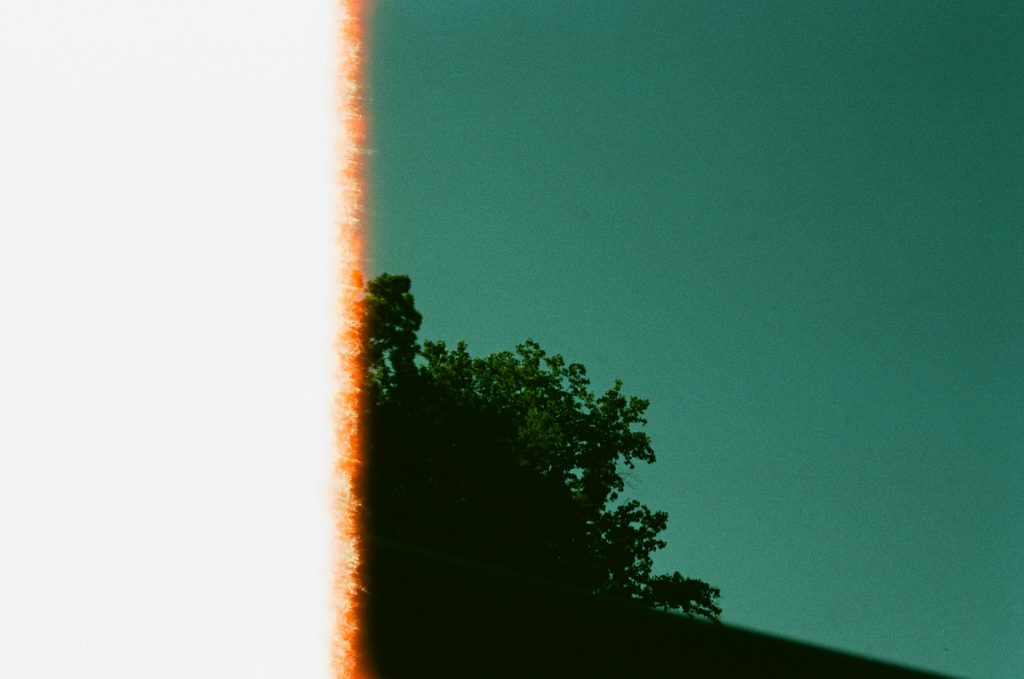
- Embrace the Unexpected: Film photography is all about happy accidents. Light leaks, double exposures, and other quirks can add character to your images. Don’t be afraid to experiment and see what happens!
Bringing Your Photos to Life
Once you’ve shot your roll of film, it’s time to develop it. You can send it to a lab, but where’s the fun in that? If you’re up for a challenge, why not create your own darkroom? Here’s what you’ll need:
- A Light-Tight Space: Your darkroom should be completely dark, with no stray light to ruin your film. A basement or windowless room works well.
- The Right Gear: You’ll need some basic equipment, like a safelight, developing tank, chemicals, and trays. For black-and-white film, you’ll need developer, stop bath, and fixer.
- Patience and Precision: Developing film is a delicate process, but there’s nothing quite like watching your images come to life before your eyes. After developing, you can print your photos using an enlarger and some photo-sensitive paper.
Why Film Photography is Worth the Effort
Film photography isn’t just about capturing an image—it’s about creating art with intention. Every step, from loading the film to developing the final print, requires thought, care, and a bit of magic. While digital photography offers convenience and speed, film photography brings you back to the roots of the craft, reminding us that sometimes, the journey is just as important as the destination.
So grab that old camera, load up a roll of film, and start snapping. Who knows? You might just fall in love with the slow, deliberate, and utterly enchanting world of film photography. Happy shooting!

